 pусский
Oil Seal Ring Installation: Step-by-Step Guide for Beginners
Step One: Introduction to Oil Seal Ring Installation
When it comes to maintaining and repairing machinery, one crucial aspect that often gets overlooked is the proper installation of oil seal rings. These small components may seem insignificant, but they play a vital role in preventing lubricant leakage and keeping your equipment running smoothly. Whether you are a beginner or a seasoned professional, this step-by-step guide will walk you through the process of oil seal ring installation. By following these instructions, you can ensure a secure and effective seal for your machinery.
Step Two: Gather the Required Tools and Materials
Before beginning the installation process, it is essential to gather all the necessary tools and materials. This will save you time and frustration later on. Here is a list of items you will need:
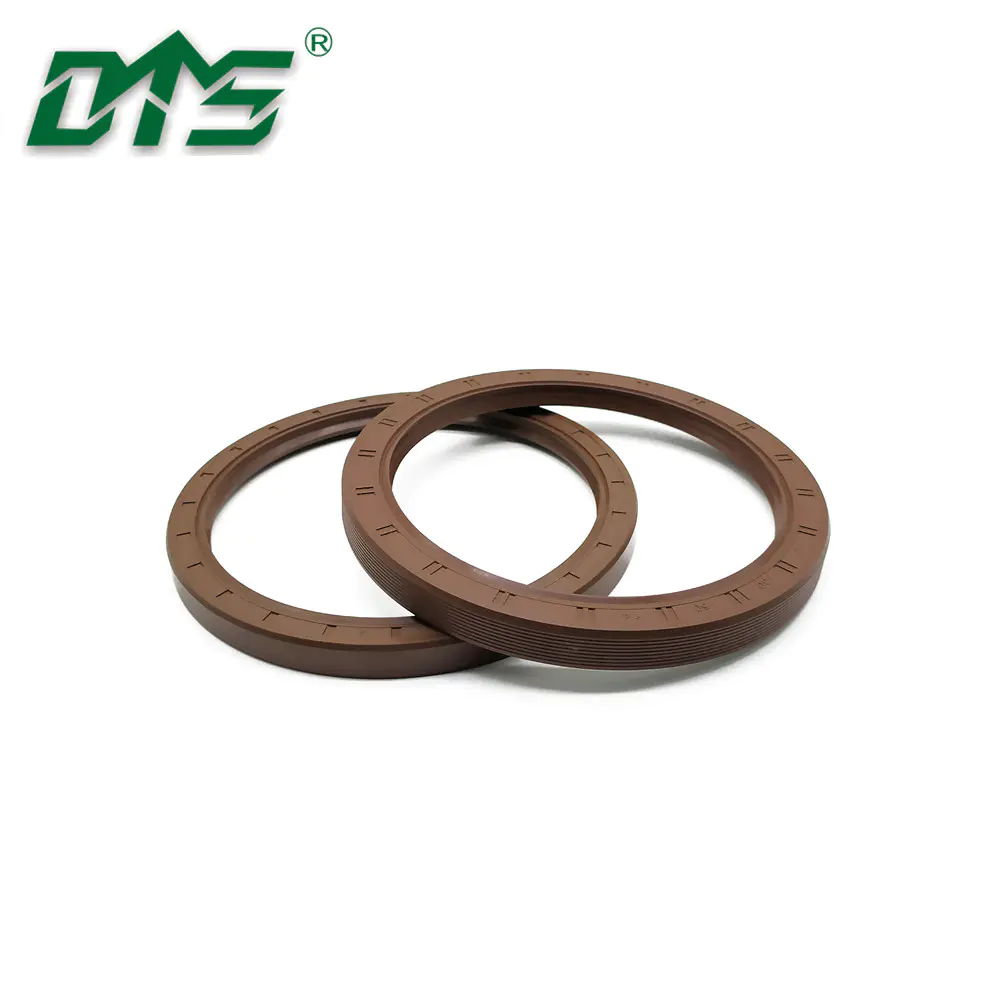
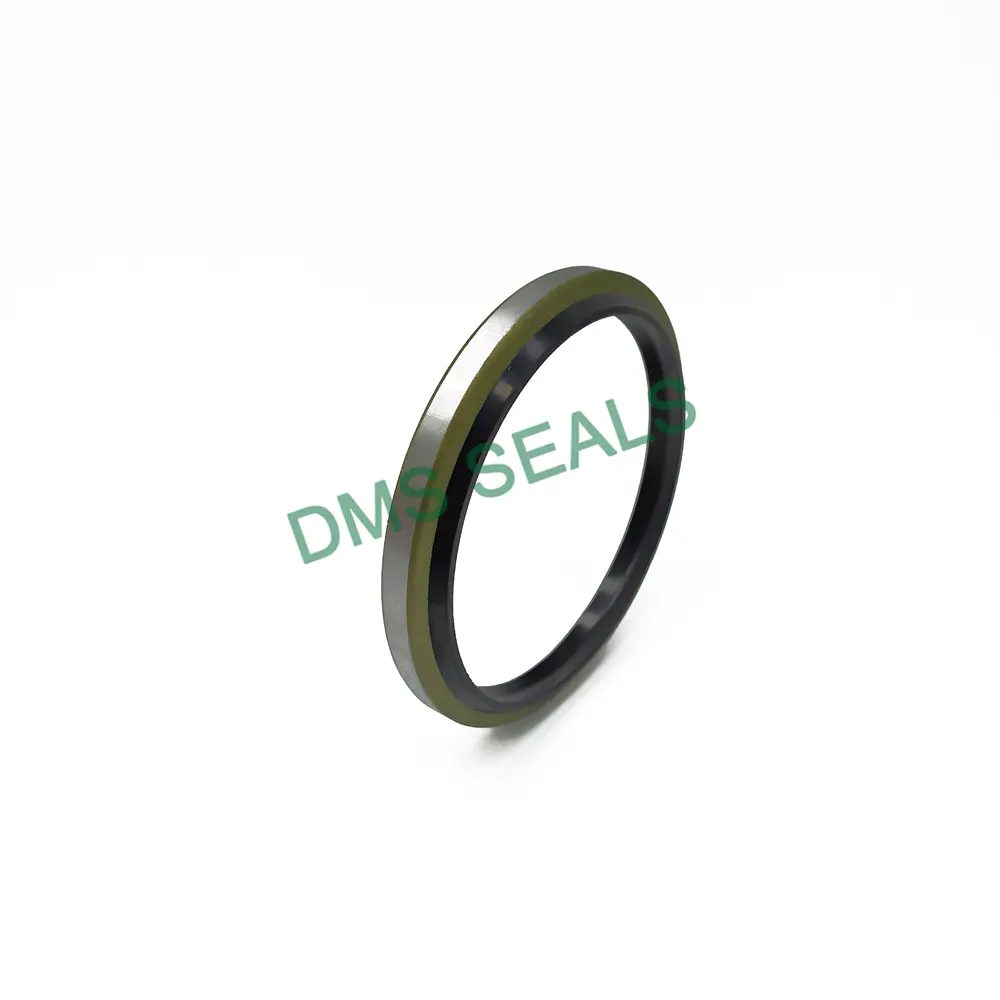
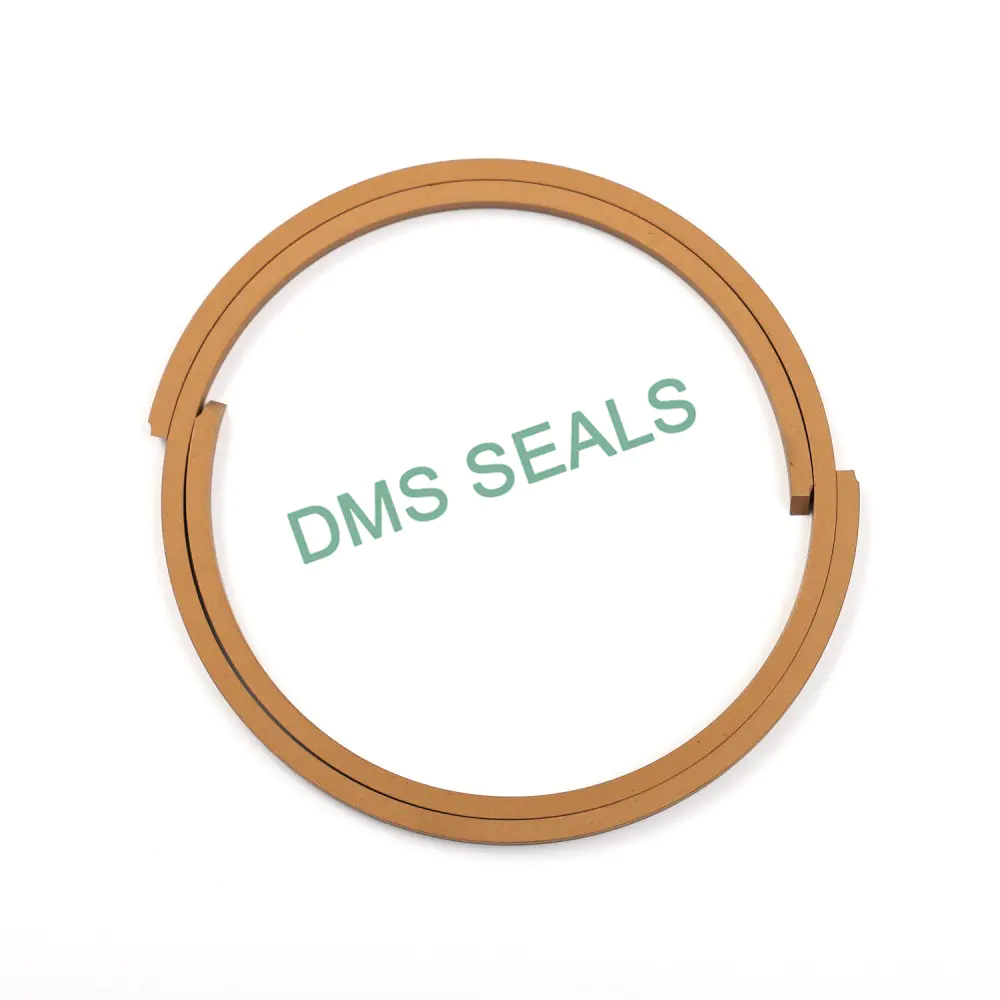
1. Oil Seal Rings: Purchase the appropriate oil seal rings that match the specifications of your equipment. Consider consulting the equipment manual or seeking professional advice to ensure compatibility.
2. Cleaning Solvent: Use a suitable cleaning solvent to remove any dirt, debris, or old sealant from the seal groove. Ensure that the solvent is safe to use on the material of the seal groove and the oil seal rings.
3. Lubricant: Prepare an oil or grease-based lubricant that is compatible with your machinery's requirements. This lubricant will facilitate the smooth installation of the oil seal rings.
4. Sealant: Depending on the specific application, you may need a sealant to enhance the sealing properties of the oil seal rings. Choose a sealant that is recommended for use with your equipment and read the instructions carefully.
5. Installation Tools: You will need a hammer or rubber mallet, a drift punch, and a seal drift, also known as an oil seal installation tool. These tools will aid in the accurate and safe installation of the oil seal rings.
Step Three: Remove the Old Oil Seal Ring
If you are replacing an old oil seal ring, it is crucial to remove it correctly. Mishandling during removal may damage the seal groove or other critical parts. Follow these steps to remove the old oil seal ring:
1. Clean the Area: Before attempting to remove the seal, clean the surrounding area thoroughly. This will prevent any dirt or debris from entering the machinery during the removal process.
2. Loosen the Seal: Using a suitable tool such as a seal puller or a hook, gently pry or pull the old seal out of the groove.
3. Inspect the Groove: Once the old seal is removed, inspect the seal groove for any signs of wear or damage. If necessary, clean the groove using a cleaning solvent and a soft cloth.
4. Remove Old Seal Remnants: Check for any remnants of the old oil seal ring that may be stuck in the groove. Use a small screwdriver or pick to carefully remove them.
Step Four: Prepare the Seal Groove and Oil Seal Ring
Before placing the new oil seal ring, it is essential to prepare both the seal groove and the seal ring itself. Proper preparation will ensure a tight and secure fit. Follow these steps:
1. Clean the Groove: Ensure that the seal groove is clean and free from debris, old sealant, or oil residue. Wipe the groove with a clean cloth dampened with a suitable cleaning solvent.
2. Apply Lubricant: Apply a thin layer of lubricant in the seal groove. This will assist in the installation process and provide lubrication for the oil seal ring during operation.
3. Coat the Seal Ring: Gently coat the outside diameter of the new oil seal ring with a small amount of lubricant. Be careful not to apply too much, as excessive lubrication may cause the seal to slip or leak.
Step Five: Installing the New Oil Seal Ring
Now that the preparation is complete, it's time to install the new oil seal ring. Follow these steps for a successful installation:
1. Align the Seal: Carefully place the oil seal ring onto the seal groove, ensuring that it is aligned properly. Use your fingers to press it gently into place.
2. Use the Installation Tool: With the new oil seal ring positioned correctly, use a seal drift or an oil seal installation tool to further seat the seal into the groove. Use light taps with a hammer or rubber mallet until the seal is fully seated.
3. Verify the Installation: After installation, double-check that the oil seal ring is fully seated, level, and flush with the surrounding surface. This will ensure optimal sealing performance.
4. Apply Sealant (if necessary): In some cases, applying a small amount of sealant around the outside diameter of the oil seal ring may be recommended. Refer to the equipment manual or seek professional advice for specific requirements.
In Conclusion
Installing oil seal rings may seem like a daunting task, especially for beginners, but with the right tools and proper guidance, it can be completed with ease. Remember to gather all the necessary tools and materials, carefully remove the old seal, and adequately prepare the seal groove and oil seal ring before installation. By following the step-by-step instructions outlined in this guide, you can ensure a successful and leak-free oil seal ring installation, contributing to the longevity and efficiency of your machinery.