 pусский
A Comprehensive Guide to Installing Bonded Seals Correctly
.
Installing bonded seals can be a tricky and time-consuming process, but it is essential to ensure the integrity of your equipment. Bonded seals are used to create a secure, leak-free seal in various mechanical applications, such as hydraulic systems, automotive engines, and industrial machinery. In this comprehensive guide, we will walk you through the process of installing bonded seals correctly.
What are Bonded Seals?
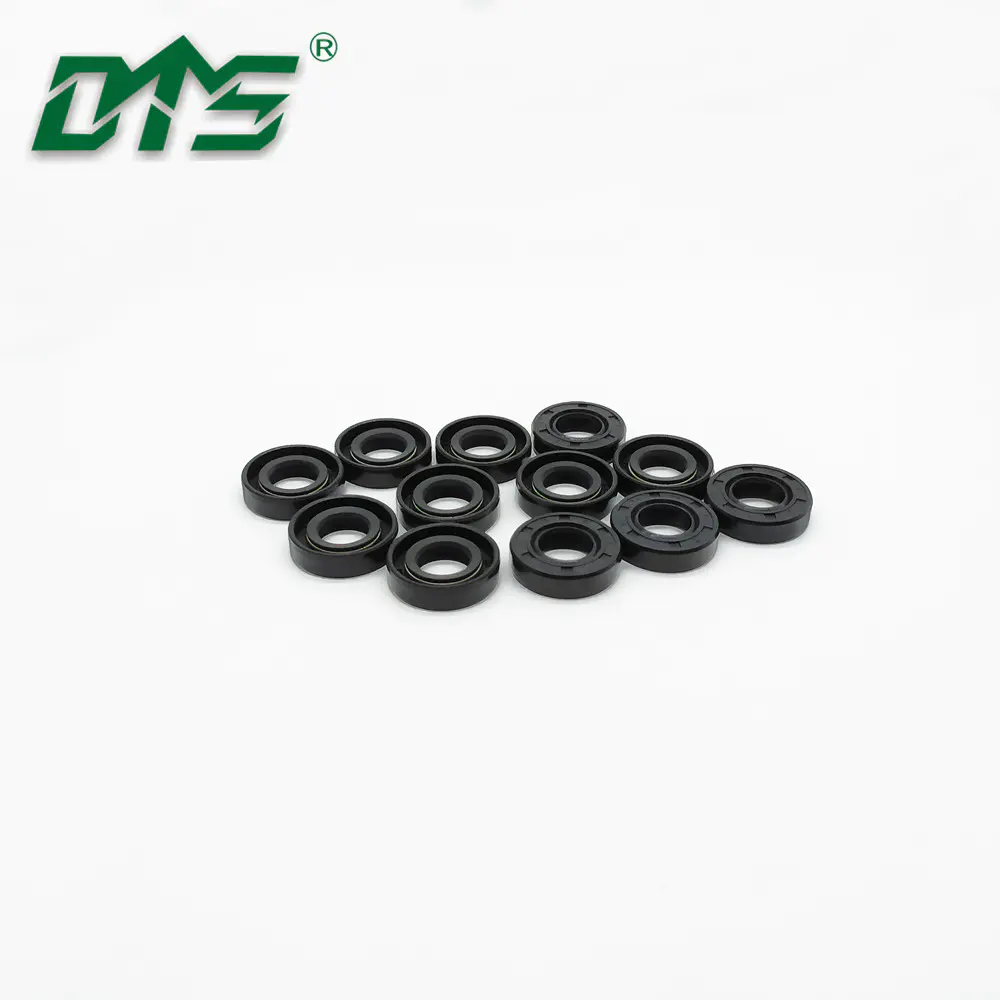
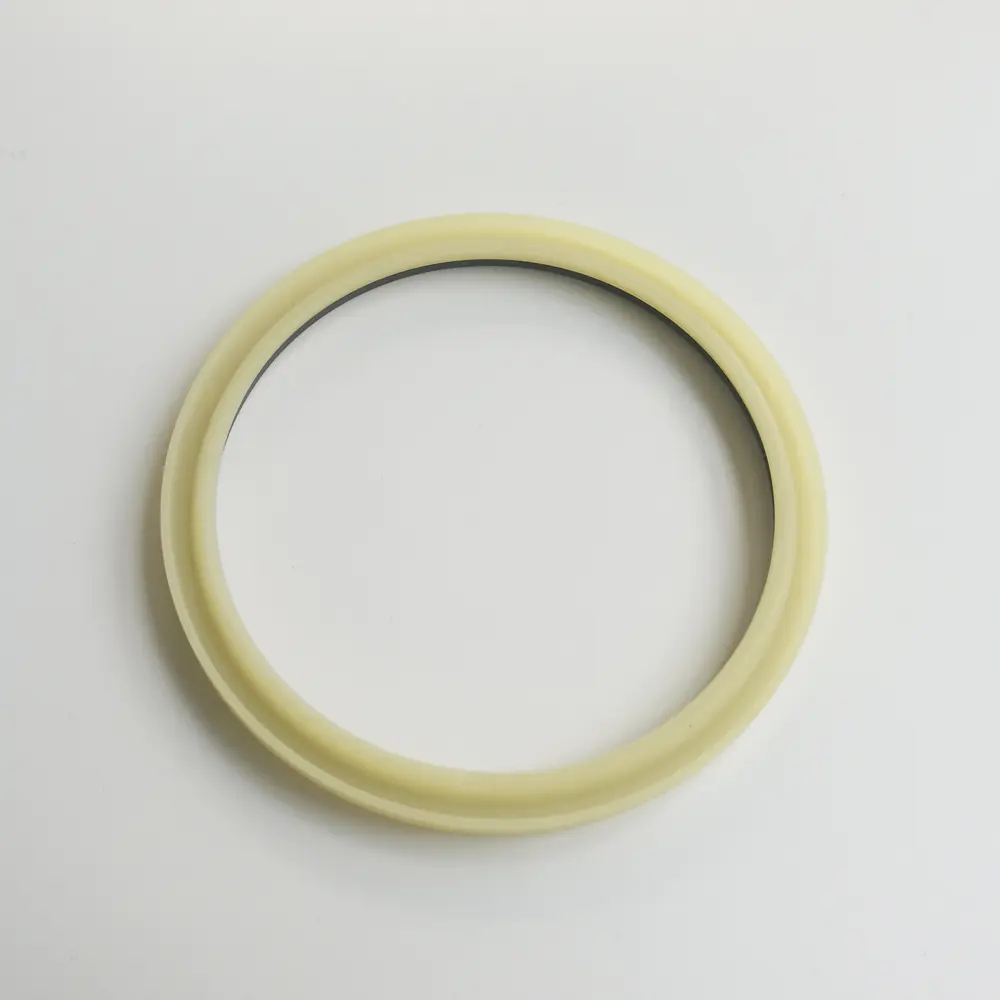
A bonded seal is a sealing solution that consists of a metallic washer and an elastomeric seal bonded together to form a flexible and robust sealing element. The metal washer provides the rigid structure, while the rubber seal offers the sealing capability. Bonded seals are commonly used in hydraulic systems, fuel injection systems, oil pressure systems, and other applications where high pressure and temperature fluctuations require a reliable and long-lasting sealing solution.
Why is it important to install bonded seals correctly?
When it comes to sealing, your system is only as good as the weakest link. If your seals are not installed correctly, they can fail and lead to costly repair work, production downtime, and environmental hazards. Correct installation ensures that the seal is positioned correctly, the washer is not distorted, and the bonding of the seal and the washer is not compromised. Moreover, incorrect installation can also affect the seal's performance and reduce its lifespan significantly.
Step-by-Step Guide to Installing Bonded Seals Correctly
Step 1: Choose the Right Seal
The first step in the installation process is to choose the right bonded seal for your application. Different seals have varying physical properties, and selecting the wrong seal can compromise the performance of the seal and the system. Consider factors such as the working pressure, temperature range, chemical compatibility, and the type of fluid or gas that the seal will handle.
Step 2: Prepare the Surface
The surface where the seal is placed needs to be clean, dry, and free from any debris. Any dirt, oil, or grease can affect the sealing capacity of the bonded seal and shorten its lifespan. Use a clean cloth and a degreasing agent to clean the surface thoroughly.
Step 3: Install the Bonded Seal
Insert the bonded seal onto the bolt or the fitting and push it down until it fits snugly. Apply light pressure to the seal to ensure that it sits in the right position. Avoid twisting or distorting the seal during installation.
Step 4: Tighten the Fitting
Use a torque wrench to tighten the fitting or the bolt to the recommended torque value. Over-tightening the bolt can damage the seal and the washer, while under-tightening can lead to leakages. Check the manufacturer's specifications for the correct torque value.
Step 5: Inspect the Seal
After installation, inspect the seal to ensure that it is in the right position and that the washer is not distorted. Check for any signs of damage, such as cracks or tears in the rubber, and replace the seal if necessary.
Common Mistakes to Avoid When Installing Bonded Seals
1. Using the wrong seal size
Using the wrong size of bonded seal can compromise the sealing ability and cause leaks. Always select the right size of the seal for your application.
2. Not cleaning the surface
Dirty or greasy surfaces can affect the bonding and sealing performance of the seal. Always clean the surface thoroughly before installing the seal.
3. Over-tightening the bolt
Over-tightening the bolt can damage the seal and the washer, leading to leakages or even equipment failure. Follow the manufacturer's recommendations for the correct torque value.
4. Incorrect positioning of the seal
Improperly positioned seals can cause leaks and reduced performance. Ensure that the seal is correctly positioned and seated before tightening the fitting or the bolt.
5. Reusing damaged seals
Installing damaged seals can lead to premature failure and costly repairs. Always replace damaged seals with new ones.
Conclusion
Installing bonded seals correctly is critical for the performance and durability of your equipment. By following the steps outlined in this guide, you will ensure that your seals are installed correctly and that the system remains leak-free. Remember to choose the right seal for your application, prepare the surface properly, install the seal correctly, and inspect it after installation. Avoid common mistakes such as using the wrong size of seal, not cleaning the surface, over-tightening the bolt, incorrect positioning of the seal, and reusing damaged seals. With these tips, you can extend the lifespan of your equipment and save money on repairs and downtime.